How to set GEM mail in E500
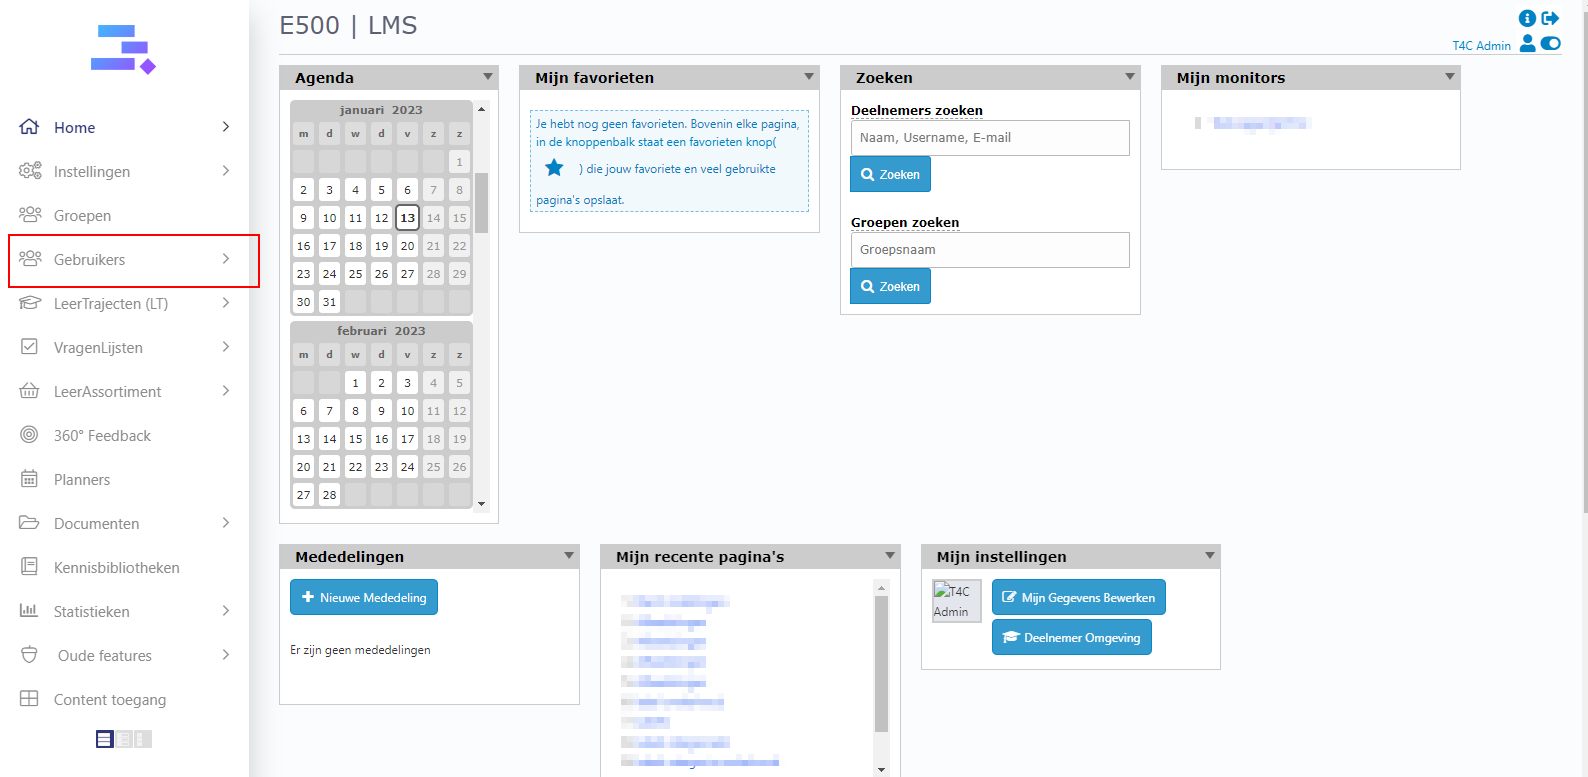
1. Login with your administration account. Click on Gebruikers
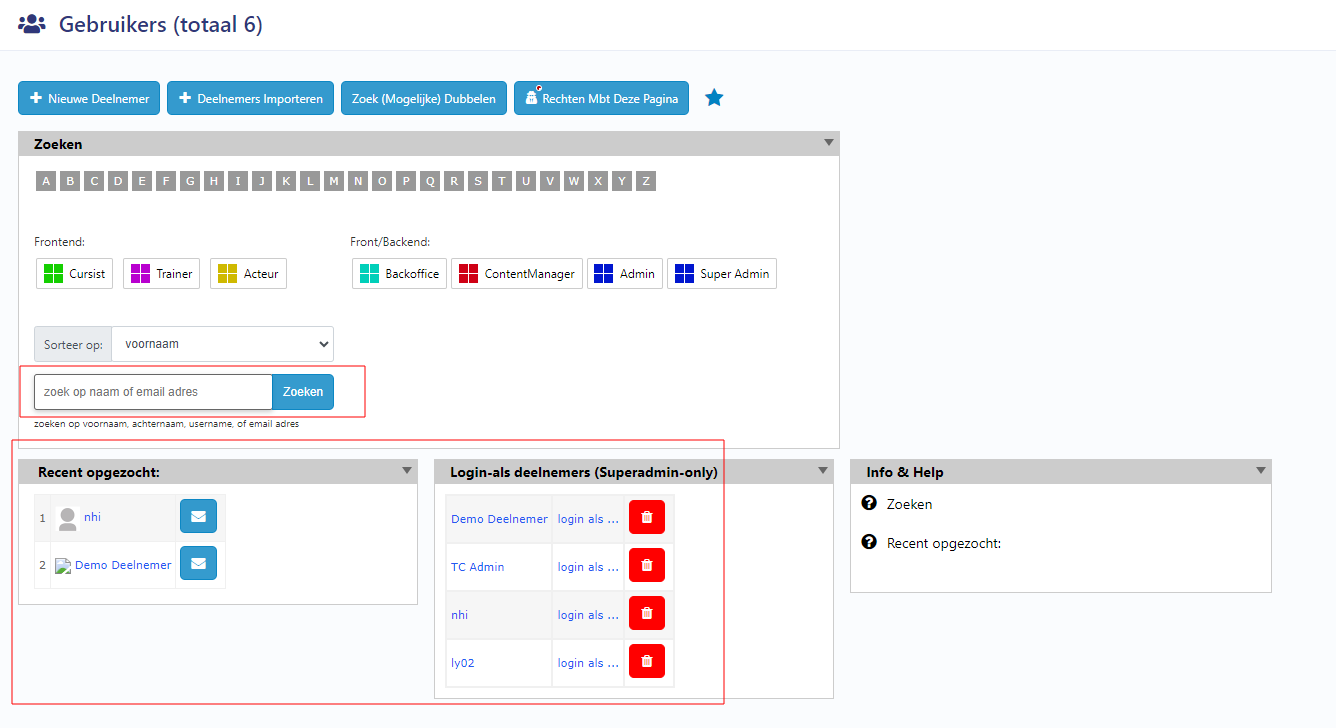
2. Choose a user from the block Login-als deelnemers, or use the search bar to find a user by their name and click zoeken to access their user’s information page.
3. Then, in the user’s information page, click on Mail icon.

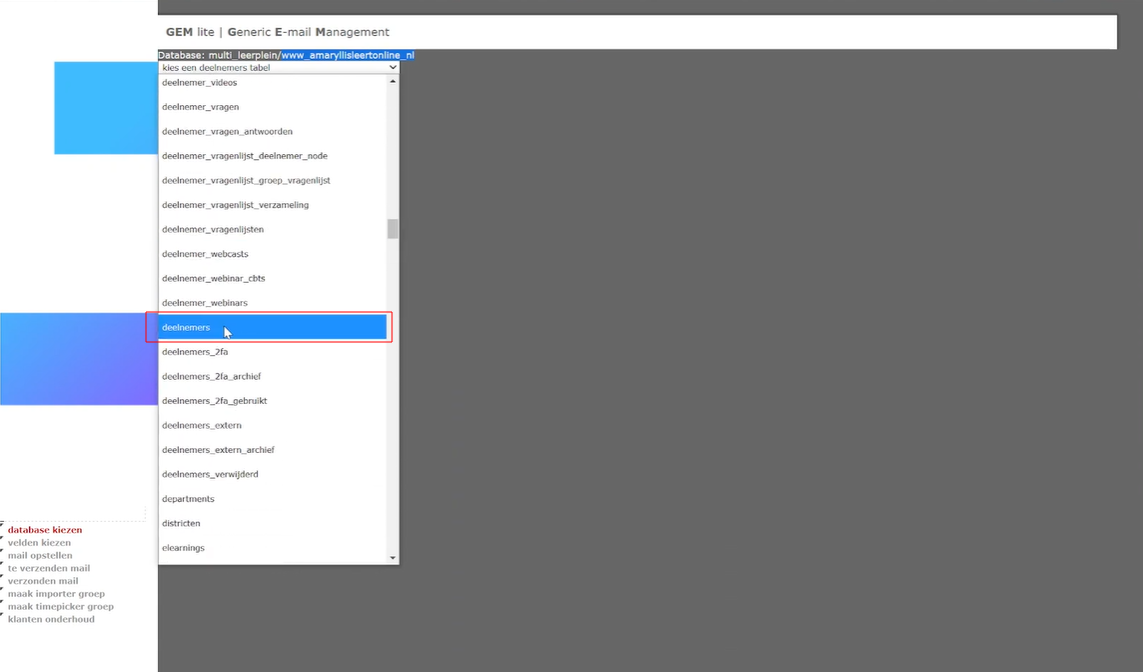
4. A new window opens. In Kies een deelnemers tabel, scroll down and click on Deelnemers
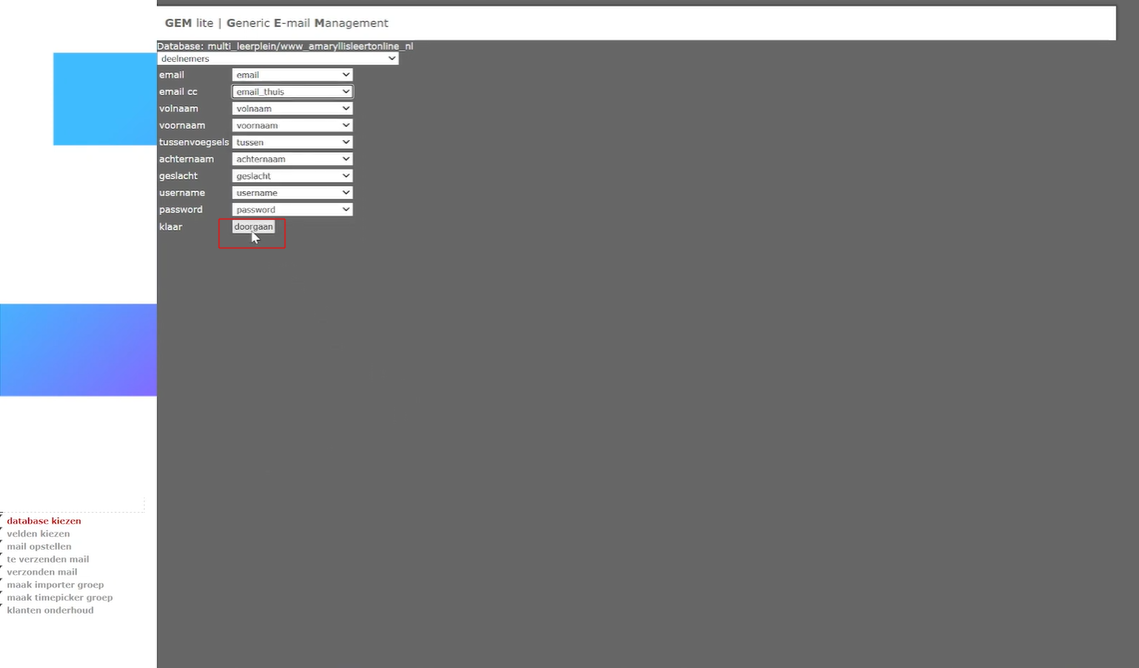
5. Next, at the email cc column, scroll down and click email_thuis. Then, click doorgaan

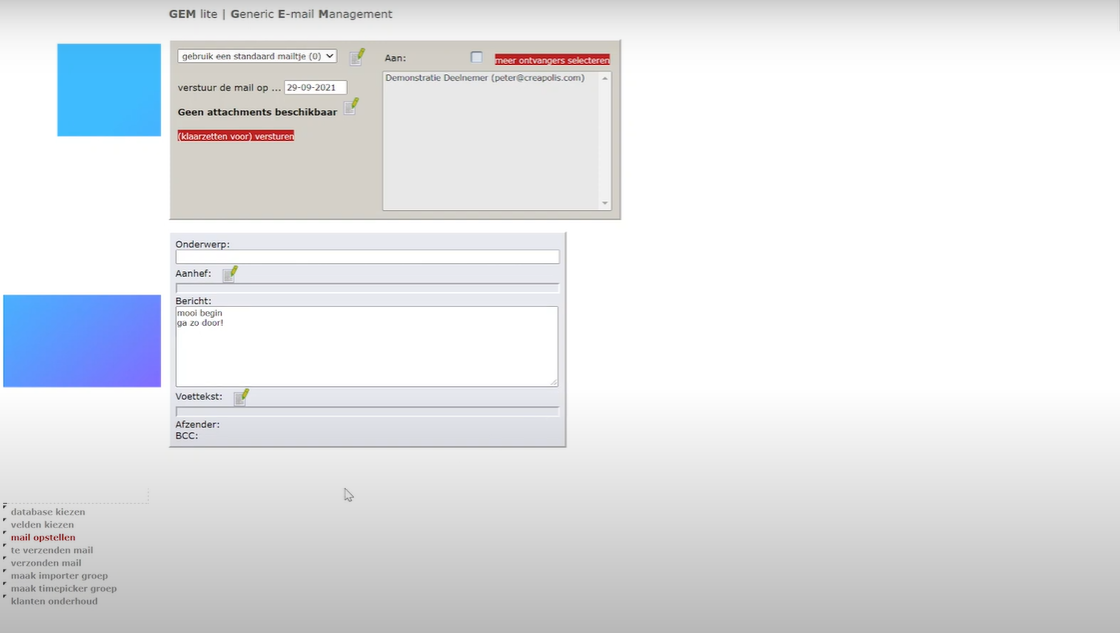
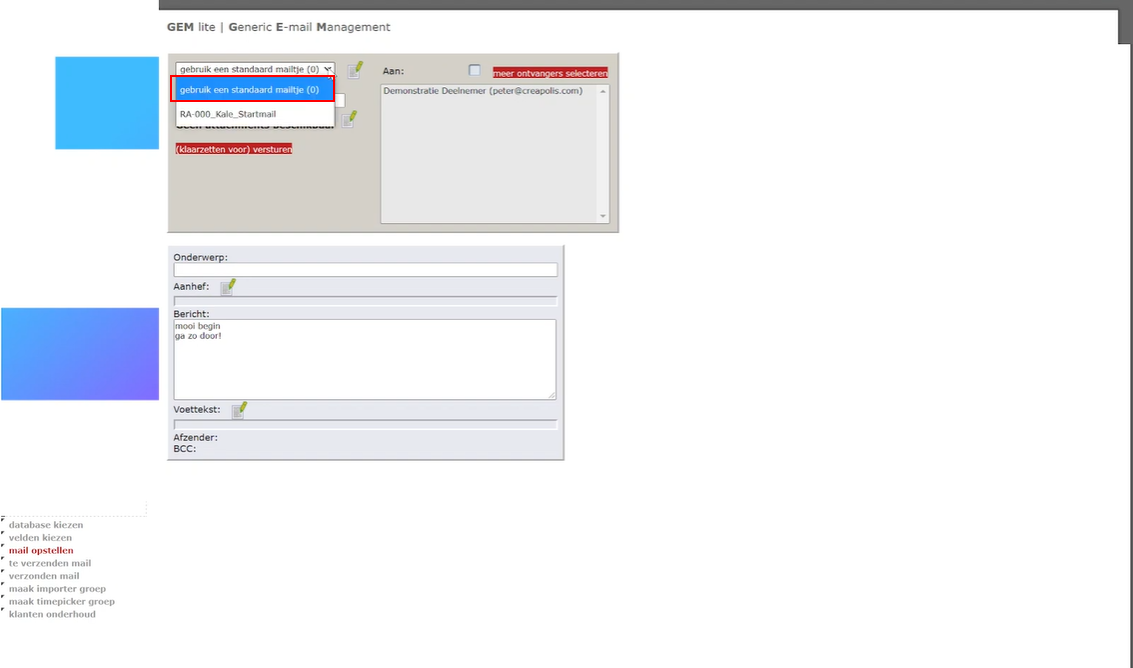
6. A new window opens. You can see the systems basic mail setup. But there are still some things you need to do. First, click to choose Gebruik een standaard mailtje
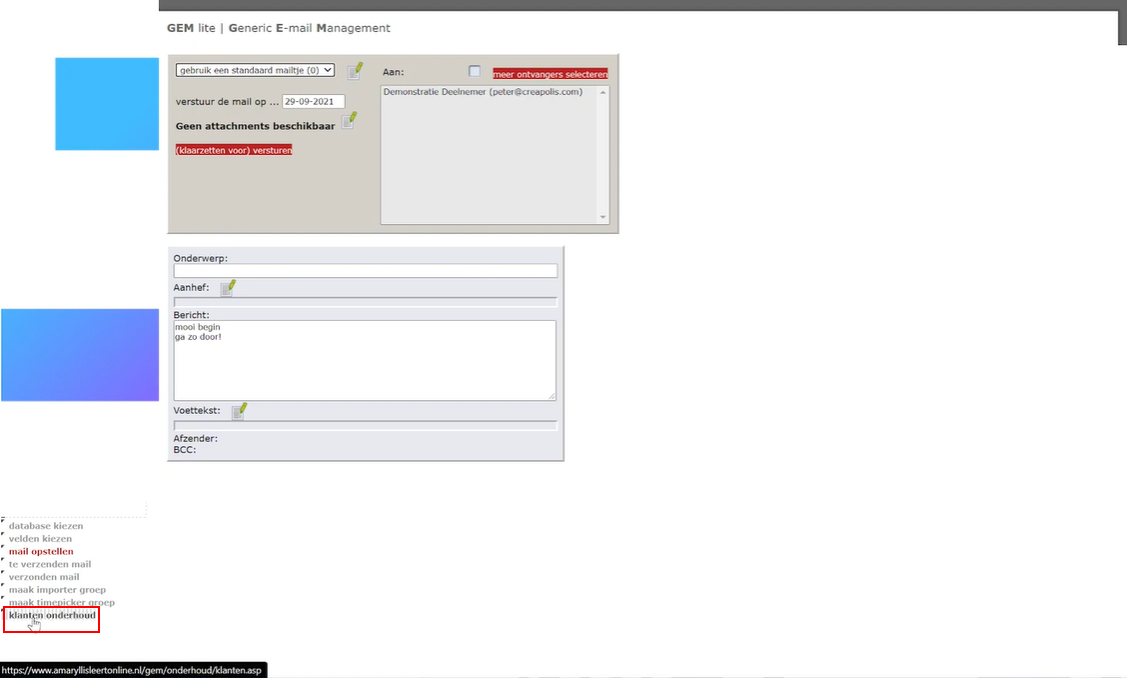
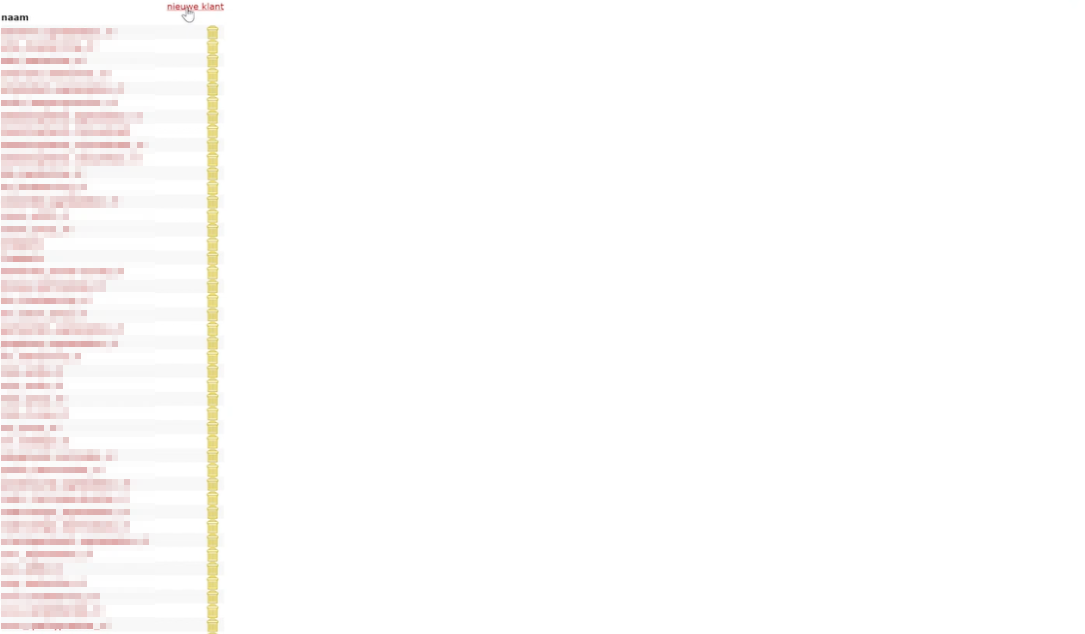
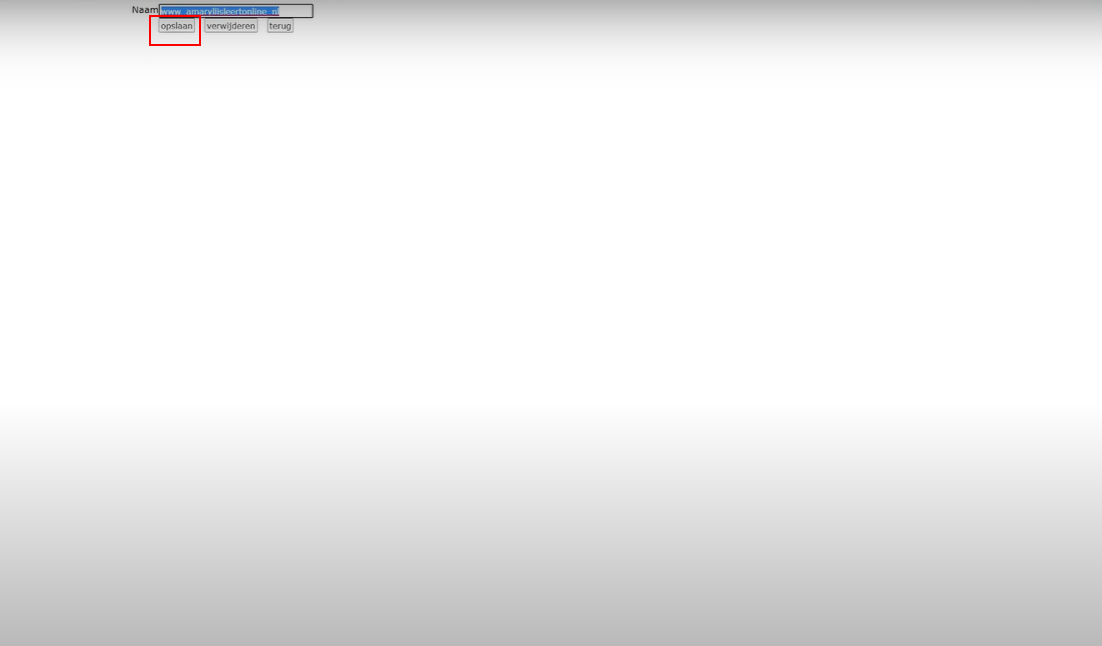
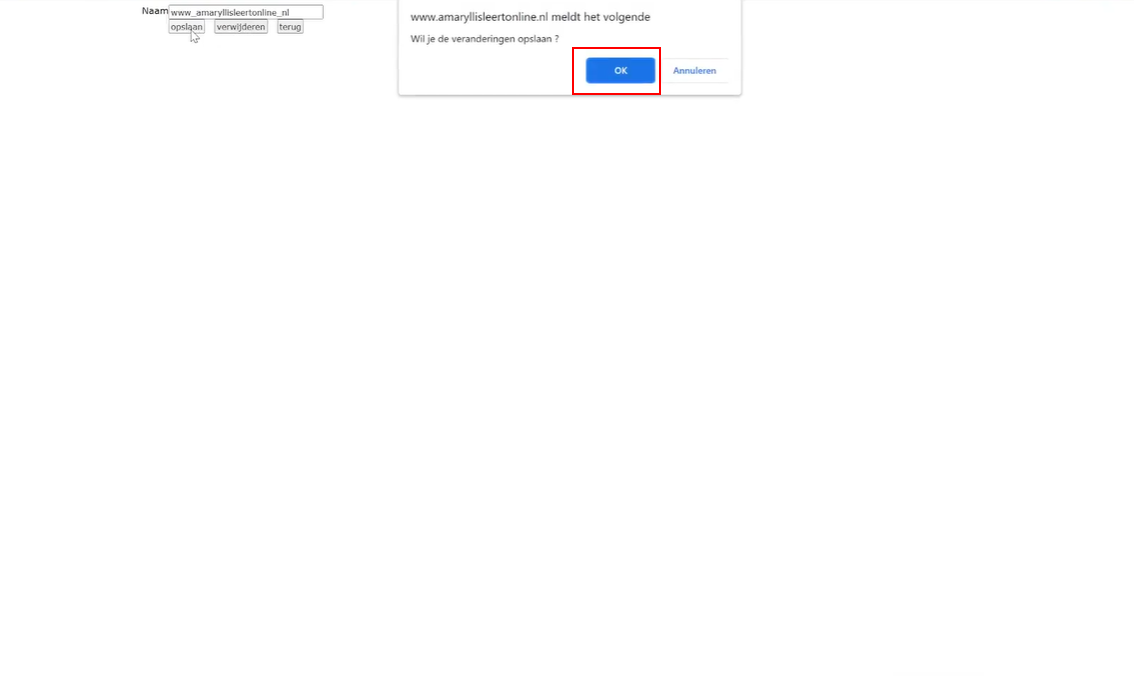
7. Then, go to klanten onderhoud and click on nieuwe klant to create a new client. Add the name of the database, click opslaan and click OK to save.
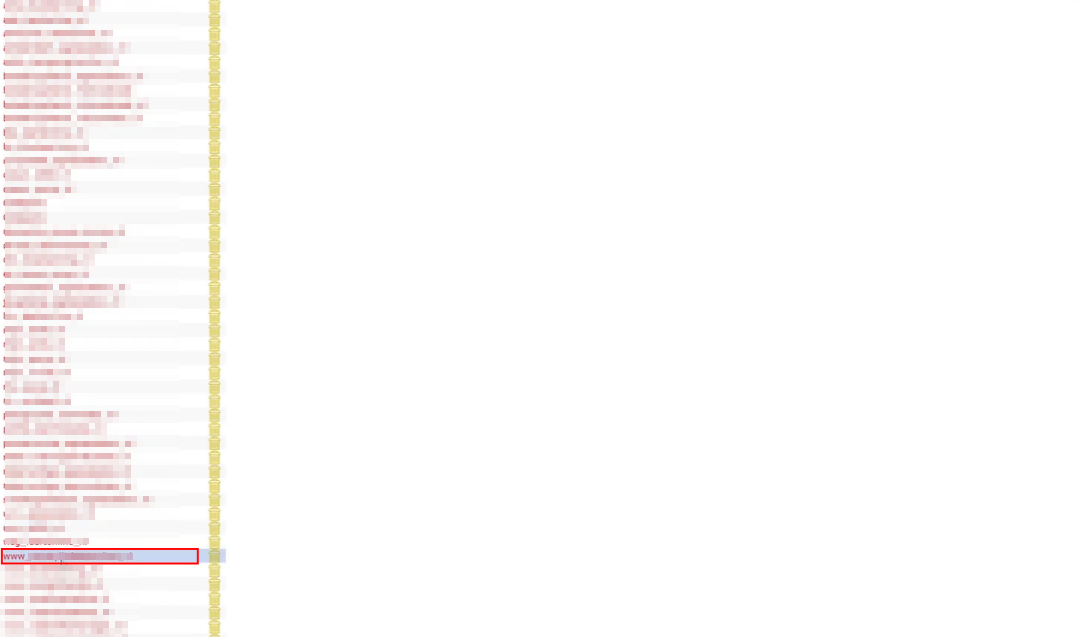
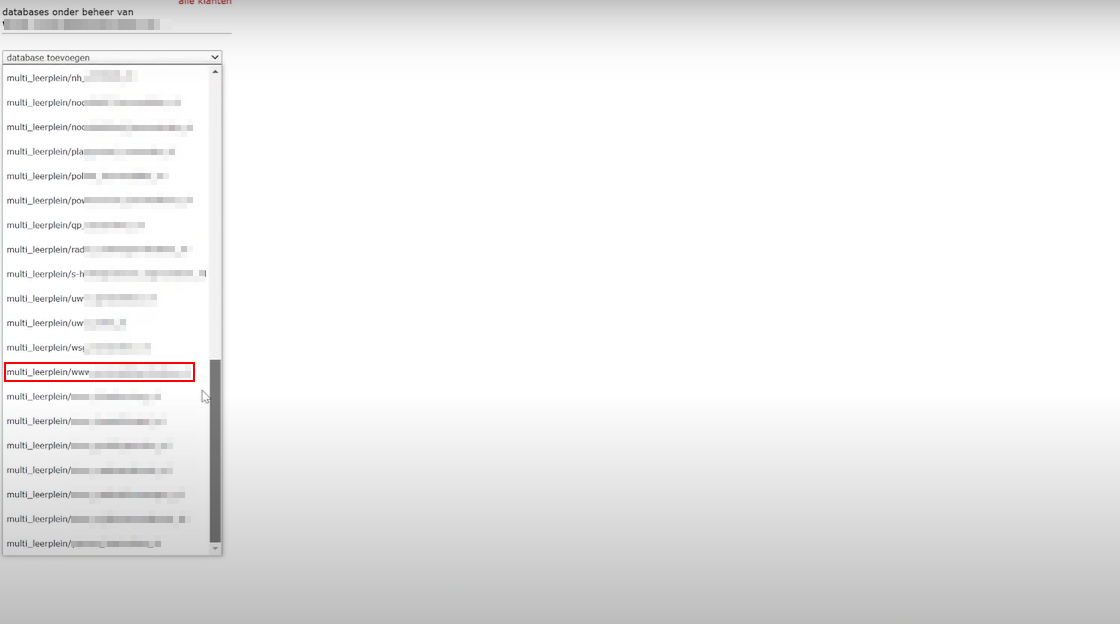
8. Choose the database and continue to choose the database again.
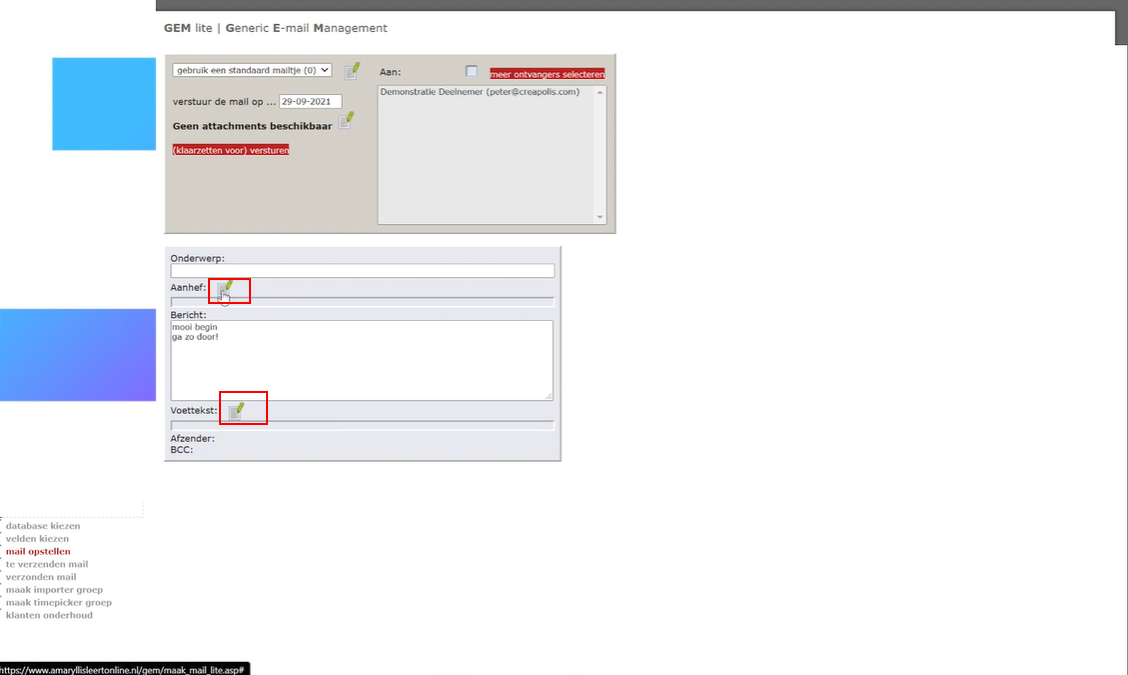
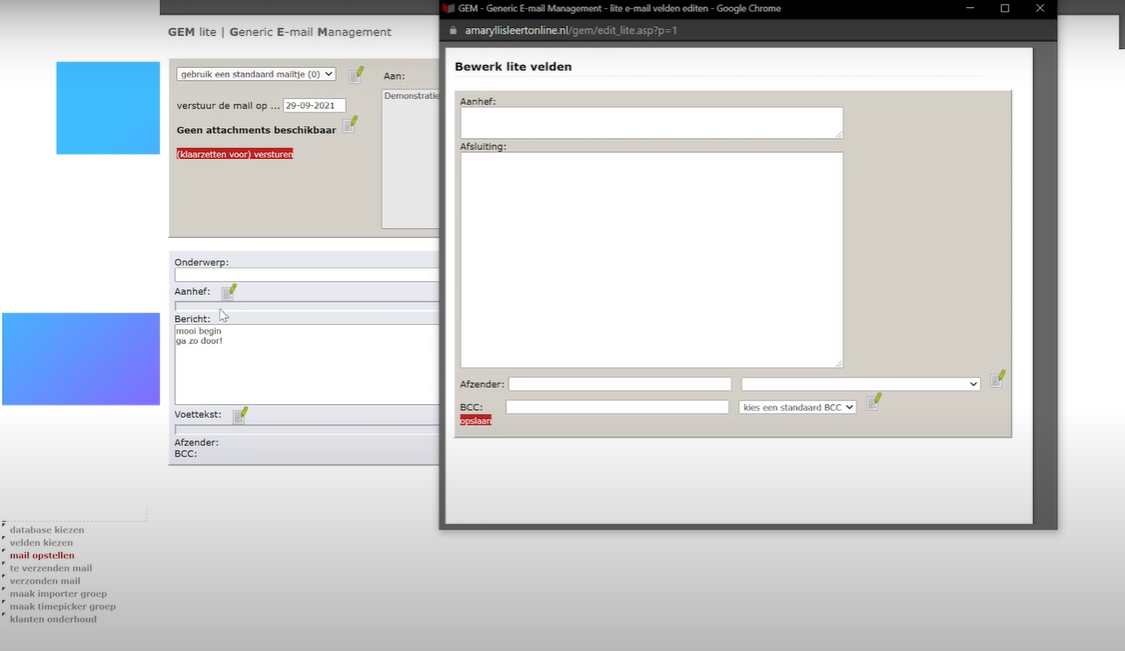
9. Back to the Generic E-mail Management Tab. Now you have to set up a header and footer for the mail. Click on the yellow pencil icon, it will show you a form to fill in. After completion, click opslaan to save.
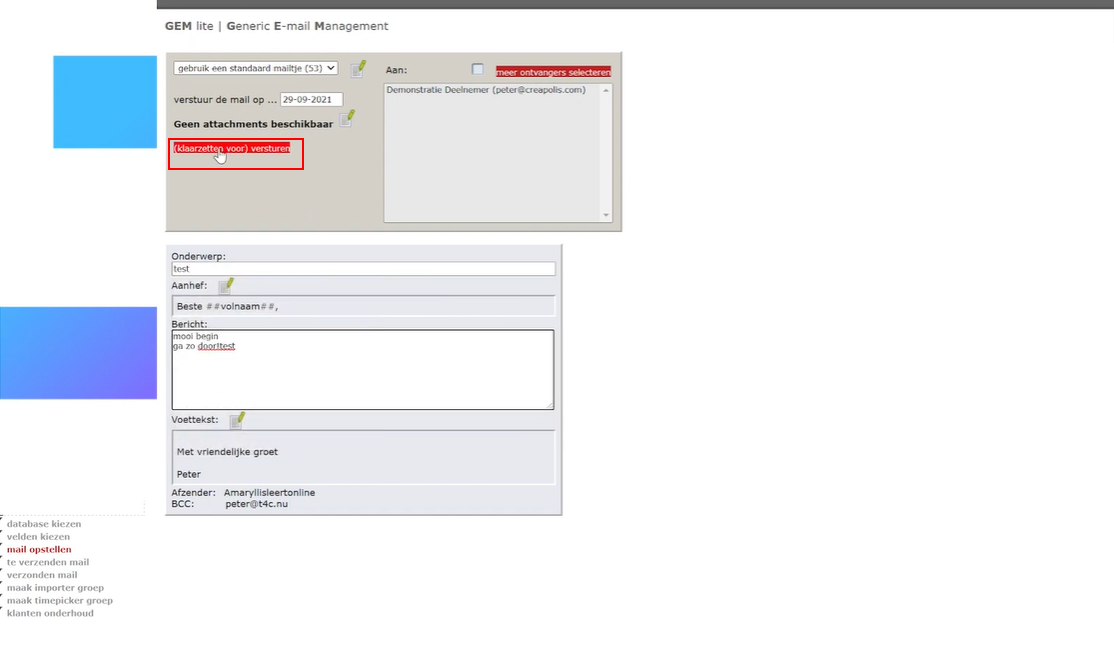
10. Refresh to see the information that you just created for the header and footer. In the frame Onderwerp, you can add a name as the topic of the mail. Then click (klaarzetten voor) versturen.
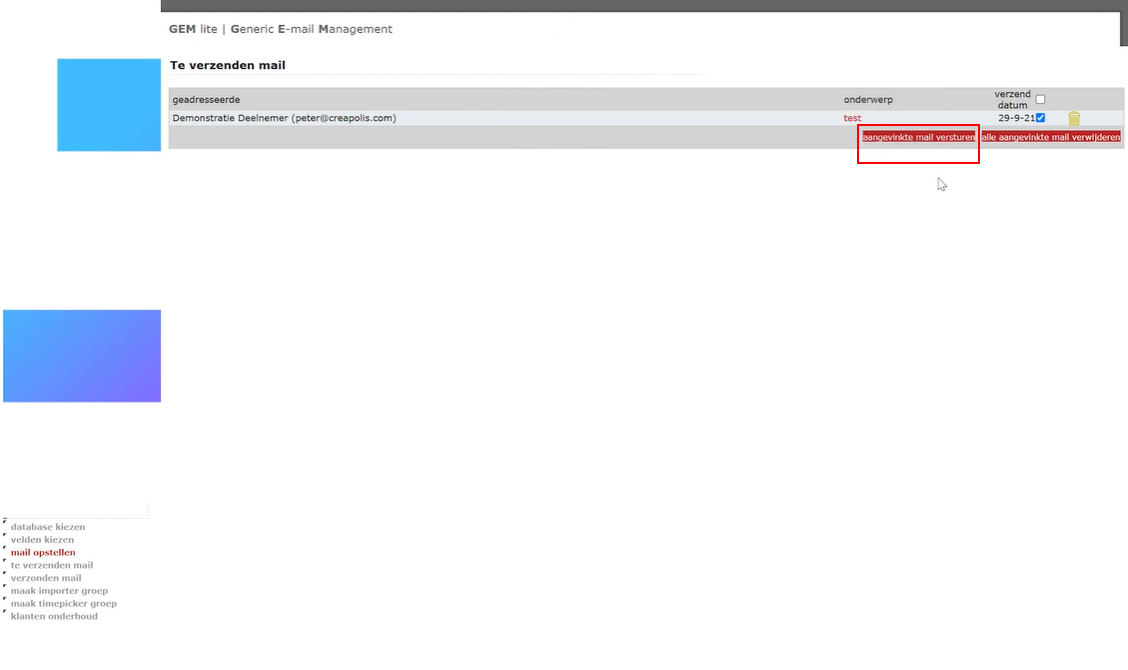
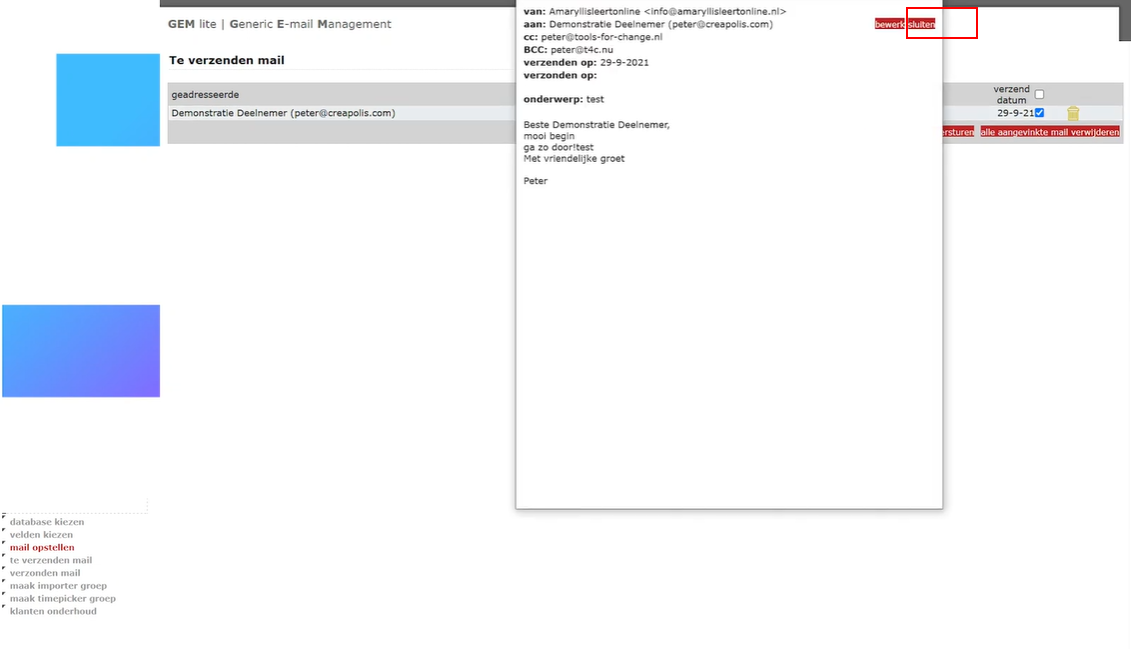
11. Before sending, click test to check the mail. If everything is good, click sluiten to close tab.

12. Click aangevinkte mail versturen and wait for a few seconds. It’s done, please check if the user(s) received the email. Good Luck!